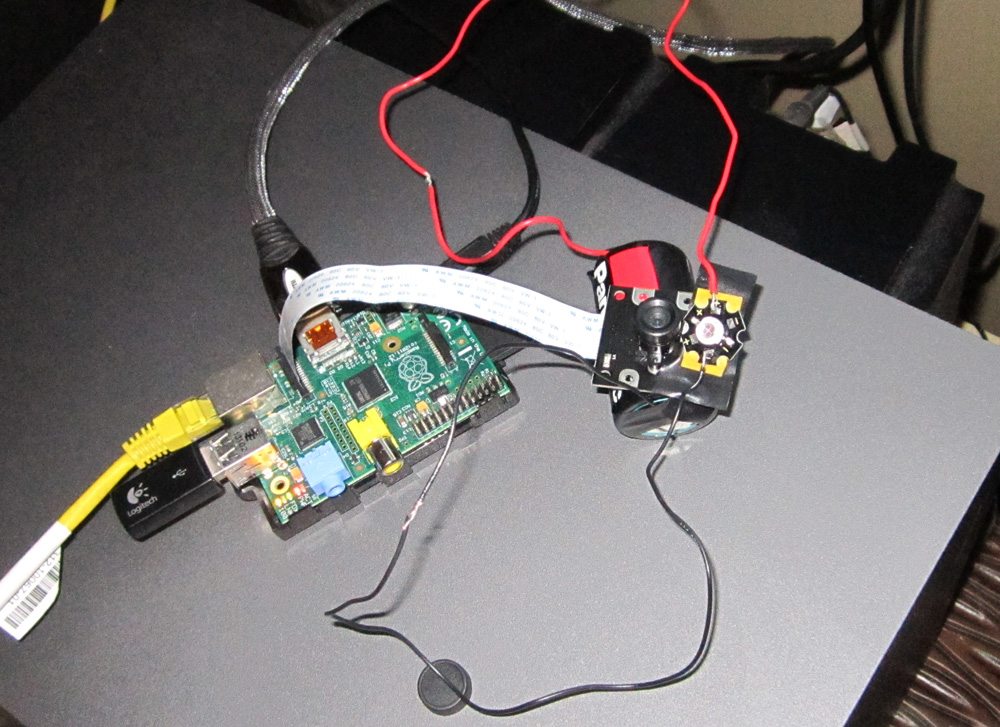
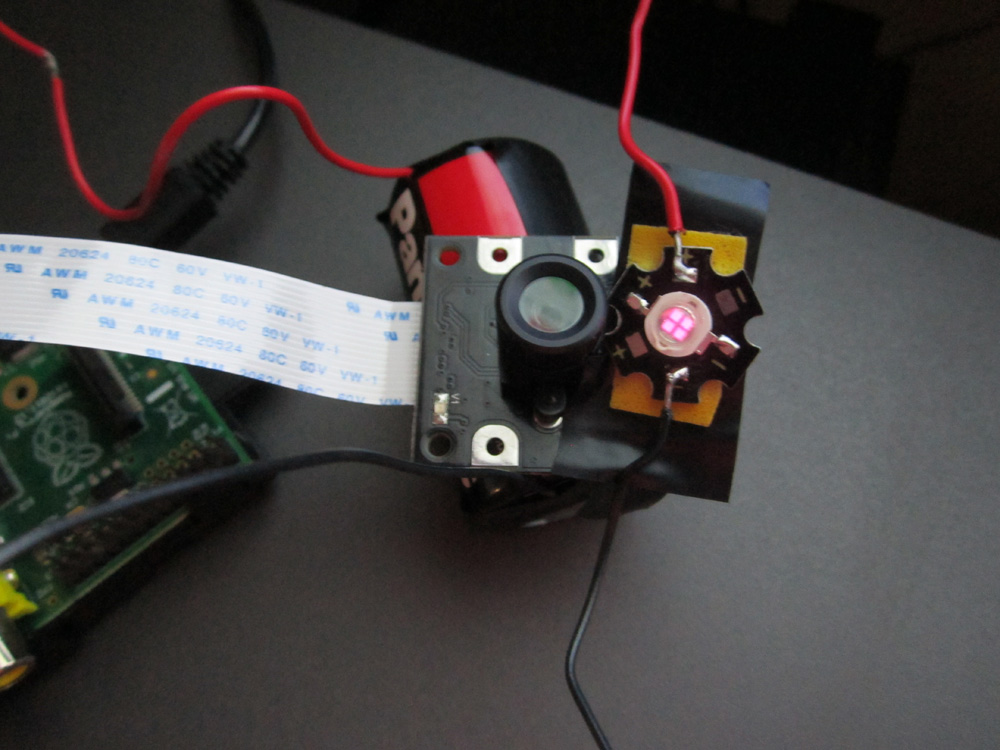
Today I have conducted the first experiment in a series of planned tests of Raspberry Pi capabilities. It has been a long time since the Pi NoIR camera has attracted my attention. It has a 5 megapixel sensor that can perform with high effectiveness in near to zero lux visibility. Of cause, it would be curious to test it in combination with infra-red LEDs.
Specially for this instrument, a 5 Watt infra-red LED was bought. Here's ebay link to this product: IR LED
|
|
Initial installation: The Pi NoIR camera is installed in the CSI port behind the ethernet port. In order to connect it, sqeeze the plastic tab and move it upwards. Insert the flexible cable of the camera so that the contact strips are facing the HDMI port. Watch the video for more details. To enable the camera, type into bash:
The config screen will appear. Use the arrow keys to navigate down to "enable camera" and press enter. When it prompts you, navigate to "yes" and press enter. |
|
Finally, navigate to "finish", then re-start the Pi when it prompts you. It is a good idea to run update and upgrade commands on your Pi, as you need to make sure that all the right software is available. Run the following in bash:
To take a still picture, you can run the following code in bash: |
|
raspistill -o youimagename.jpg